First, make sure you have Claude installed and you're logged in to your account. Second, make sure you have set up an API key using the API Key Management system in Openprise, click HERE to learn about this feature.
Navigate to Claude Desktop and select your profile in the bottom left corner and then select Settings
Select Connectors in the left pane
In the upper right hand corner, select the Add dropdown and then select Add custom connector.
*NOTE: If you are on an Enterprise plan and do not have an administrator role, the Add option may not be available to you. Ask your administrator to add the connection and make it available to users within your organization.
A pop-up window will appear. Fill in the following information and select Add in the lower right.
- Name: Openprise
- Remote MCP server URL: https://mcp.openprisetest.com/mcp
- OAuth Client ID (optional): openprise-mcp
Setup Authentication
Keep the default "Sign in now" selected
Select Use your own OAuth client. Enter openprise-mcp, then click Add
After you click Add, Claude shows a prompt for the new Openprise connector. Click Connect to
begin authorizing.
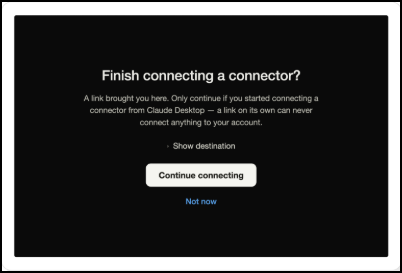
Then select Continue Connecting
Authorize with your API Key
Your browser opens the Openprise authorization page. Paste your Openprise API key (created using API Key Management), give it a label, choose your pod, then click Authorize.
Note: Safe to paste: your key is sent only over HTTPS and checked against your pod. It never lands in your chat transcript or your configuration file.